If you have fine or thin hair and are looking for some guidance on how to clip in and blend your Elsa Hair Extensions, you’ve come to the right place.
Sometimes, it can be a little tricky to fully hide the clips of your hair extensions, especially if your hair is thinner. The clips can poke through your hair, may not clip in firmly due to the fine texture of your hair, or you may find that the extensions simply feel too heavy in your thin hair. The steps we share with you in this post, however, will help you blend your extensions naturally and seamlessly!
*Important: If you are experiencing excessive hair loss or medical hair loss conditions, we strongly advise to consult with your doctor first, to discuss if wearing clip-in hair extensions is right for you.
Tip #1: choose the right extensions
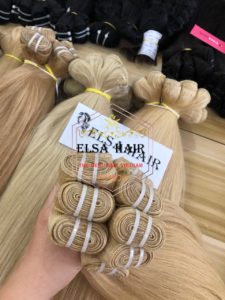
Our Classic collection has a silk fabric stitched base with the clips hand-sewn to the base of each weft. If you have thin hair, we recommend to opt for our 150g set, which is specifically designed for thin hair. This set comes with 9 wefts of hair fine texture of your hair, or you may find that the extensions simply feel too heavy in your thin hair. The steps we share with you in this post, however, will help you blend your extensions naturally and seamlessly!
*Important: If you are experiencing excessive hair loss or medical hair loss conditions, we strongly advise to consult with your doctor first, to discuss if wearing clip-in hair extensions is right for you.
Tip #2: make a solid base for the wefts
You may find that your Elsa Hair extensions slip or slide throughout the day if you have thin hair. In order for the weft to have something to hold on to without sliding, it is important to create a firm base to which you will clip the weft. This will help secure the in place in your thin hair and prevent tugging. You can create this base by applying a small bit of hairspray to the root of the section to which the weft will be clipped on, then teasing the hair.
Tip #3: Find the safe zone
A very important step when clipping in your extensions is figuring out what your ‘safe zone’ is. This is the area on your head where the clips will not be seen. Usually, for fine hair, the safe zone is anywhere below the line of your eyebrows. Draw an imaginary circle around your head from one eyebrow to another; anywhere below that circle is where your wefts are going to be clipped in.
Tip #4: Position your wefts
We all have different hair types, head sizes and shapes, therefore, although there is a general sequence in which extensions should be clipped in, there is no one right way to do it. Play around with the wefts and find what positioning works best for you. Thin-haired ladies especially need to pay attention to the top of the head, to make sure that the wefts aren’t peeking through (remember the safe zone!) Read the next tip for some positioning suggestions or view the visual below.
Tip #5: Tease your Crown
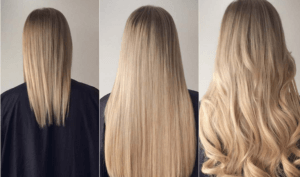
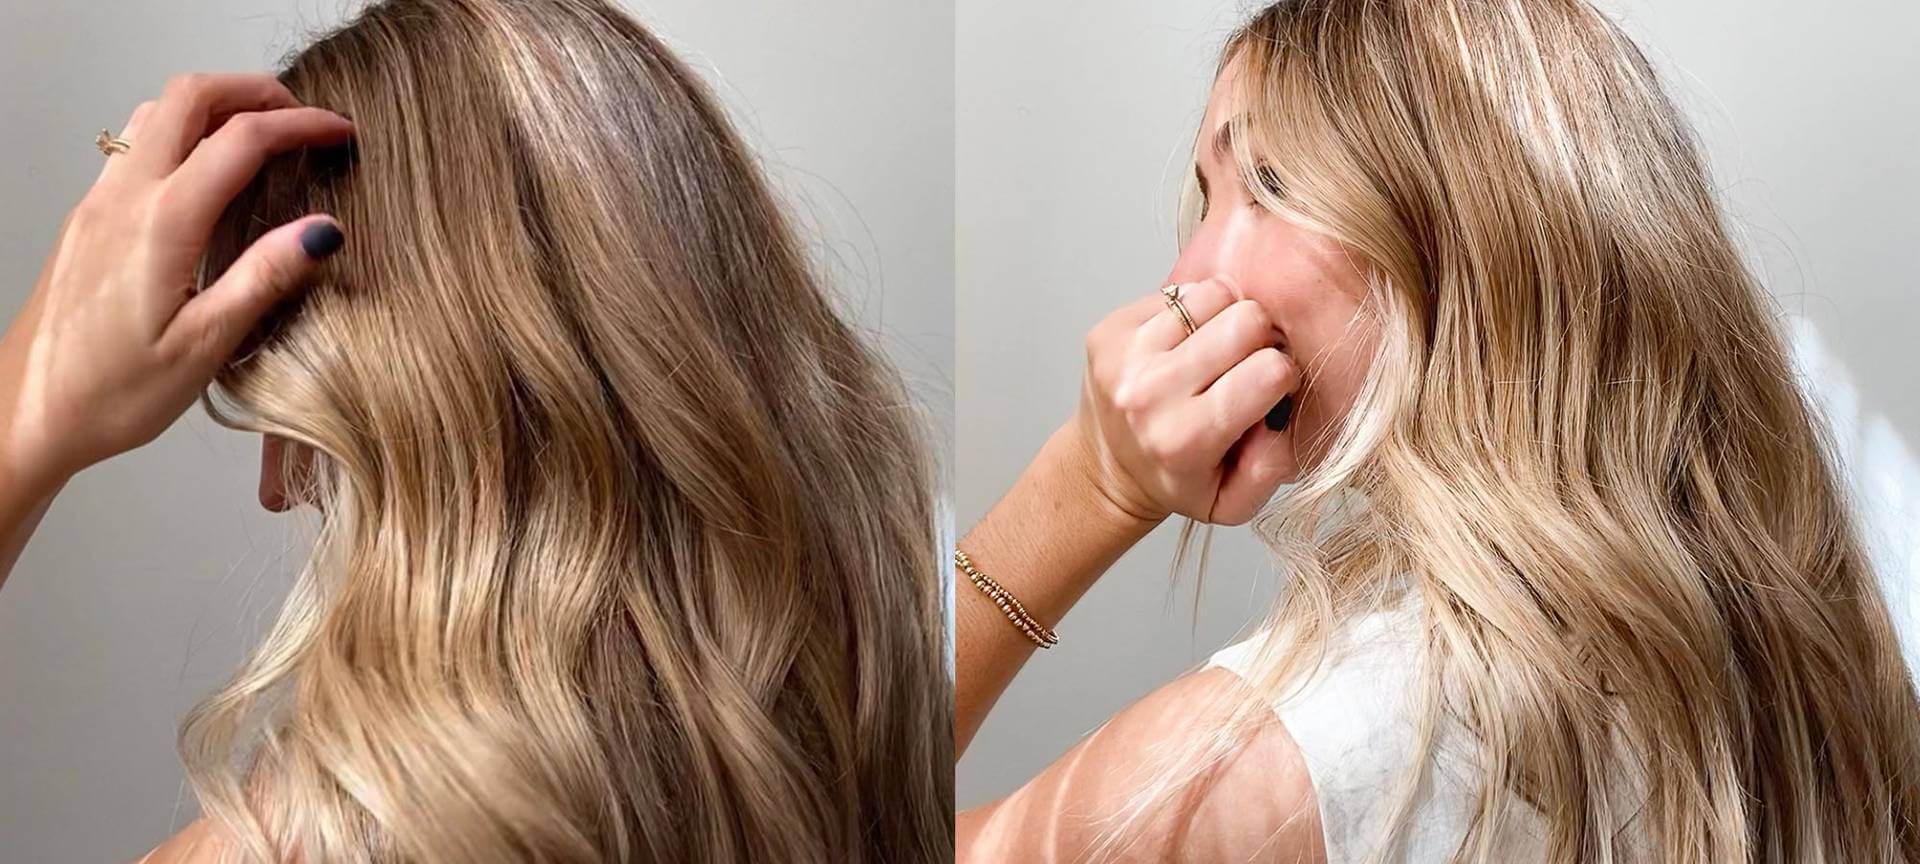
Once your extensions are clipped in, you will notice the difference right away in how much longer and thicker your hair feels (great feeling, right??) Naturally, it may be noticeable that you have more hair at the bottom than at the top of your head, due to the thinness of your natural hair. To make the blend look more natural, it’s a great idea to tease your hair at the crown to add some volume to match the rest of your hair. This will give an overall harmonious, voluminous look
Tip #6: layer your extensions
If your natural hair is layered, adding layers to your Elsa Hair extensions by a professional hairstylist can make all the difference! This will help the extensions blend in more seamlessly, creating a smooth transition from where your natural hair ends and your hair extensions begin. If you decide to get them cut, we recommend having them already clipped into your hair during the haircut. It will also be very helpful for you to come up with a numbering system for the wefts, so that you know exactly where each weft is supposed to be clipped in for the future uses.


![[How To:] 5 Ways to Remove Tape in Hair Extensions 22 [How To:] 5 Ways to Remove Tape in Hair Extensions 21](https://elsahair.vn/wp-content/uploads/2022/05/1aa0913df4f9d8948ec1907bb54cc675.jpg)
