Hair extensions are the popular beauty tools with many women, which are used to enhance volume to thin hair, length to short hair, and bring a whole different look too dull hair. However, having such great uses also means that most of them will come with a large price tag. Among all kinds of extensions, the Wefts are considered one of the most expensive ones, especially for human weft hair extensions. For those who want to save money, instead of buying weft hair extension directly from a professional hair supplier, you can purchase bulk hair and make weft hair extensions at home.
What is bulk hair?
Before getting to know the tutorials of making a hand-tied weft using bulk hair, it will be better for you to know what the bulk hair extension is.
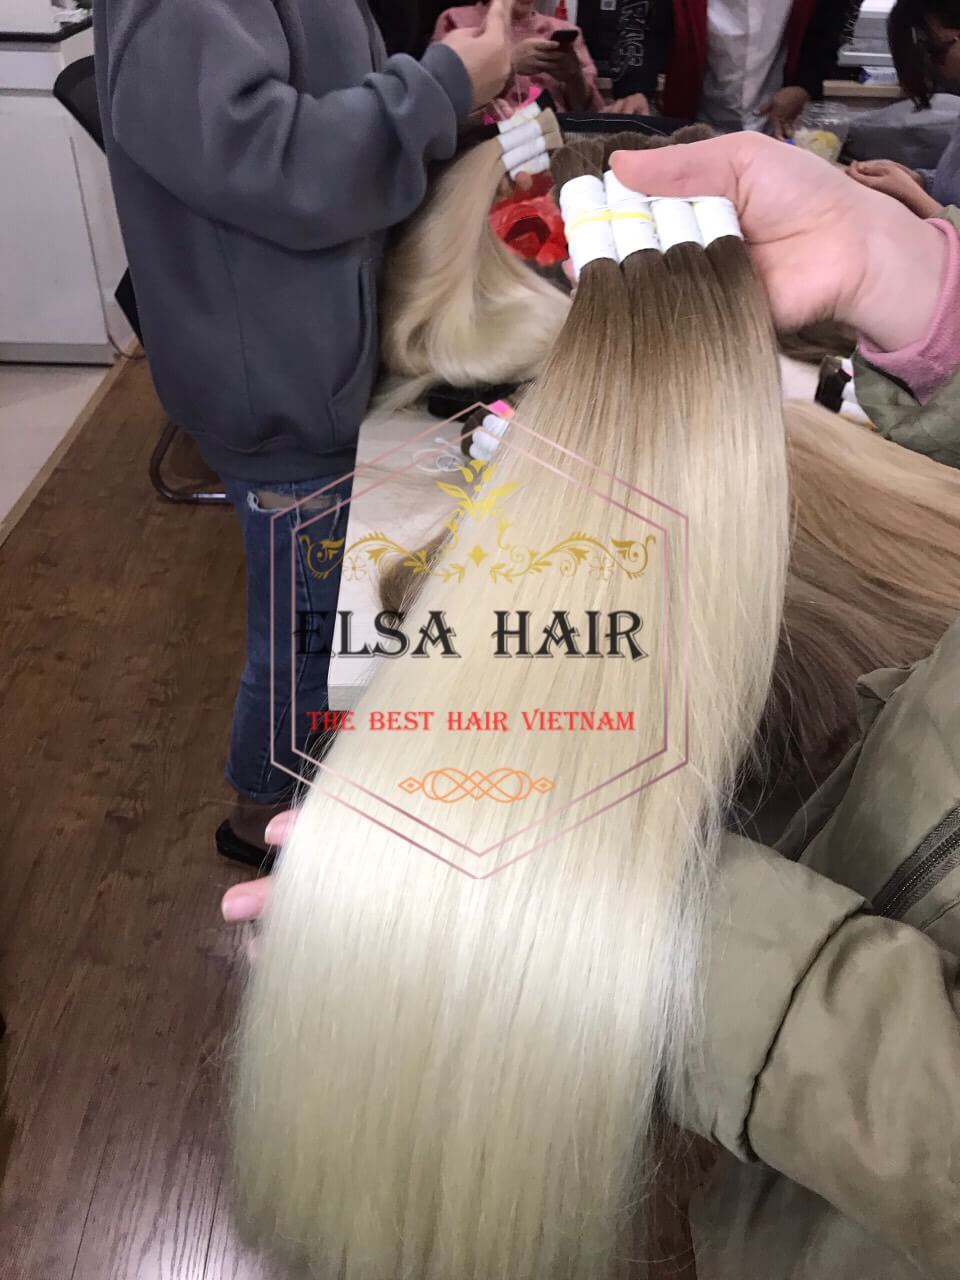
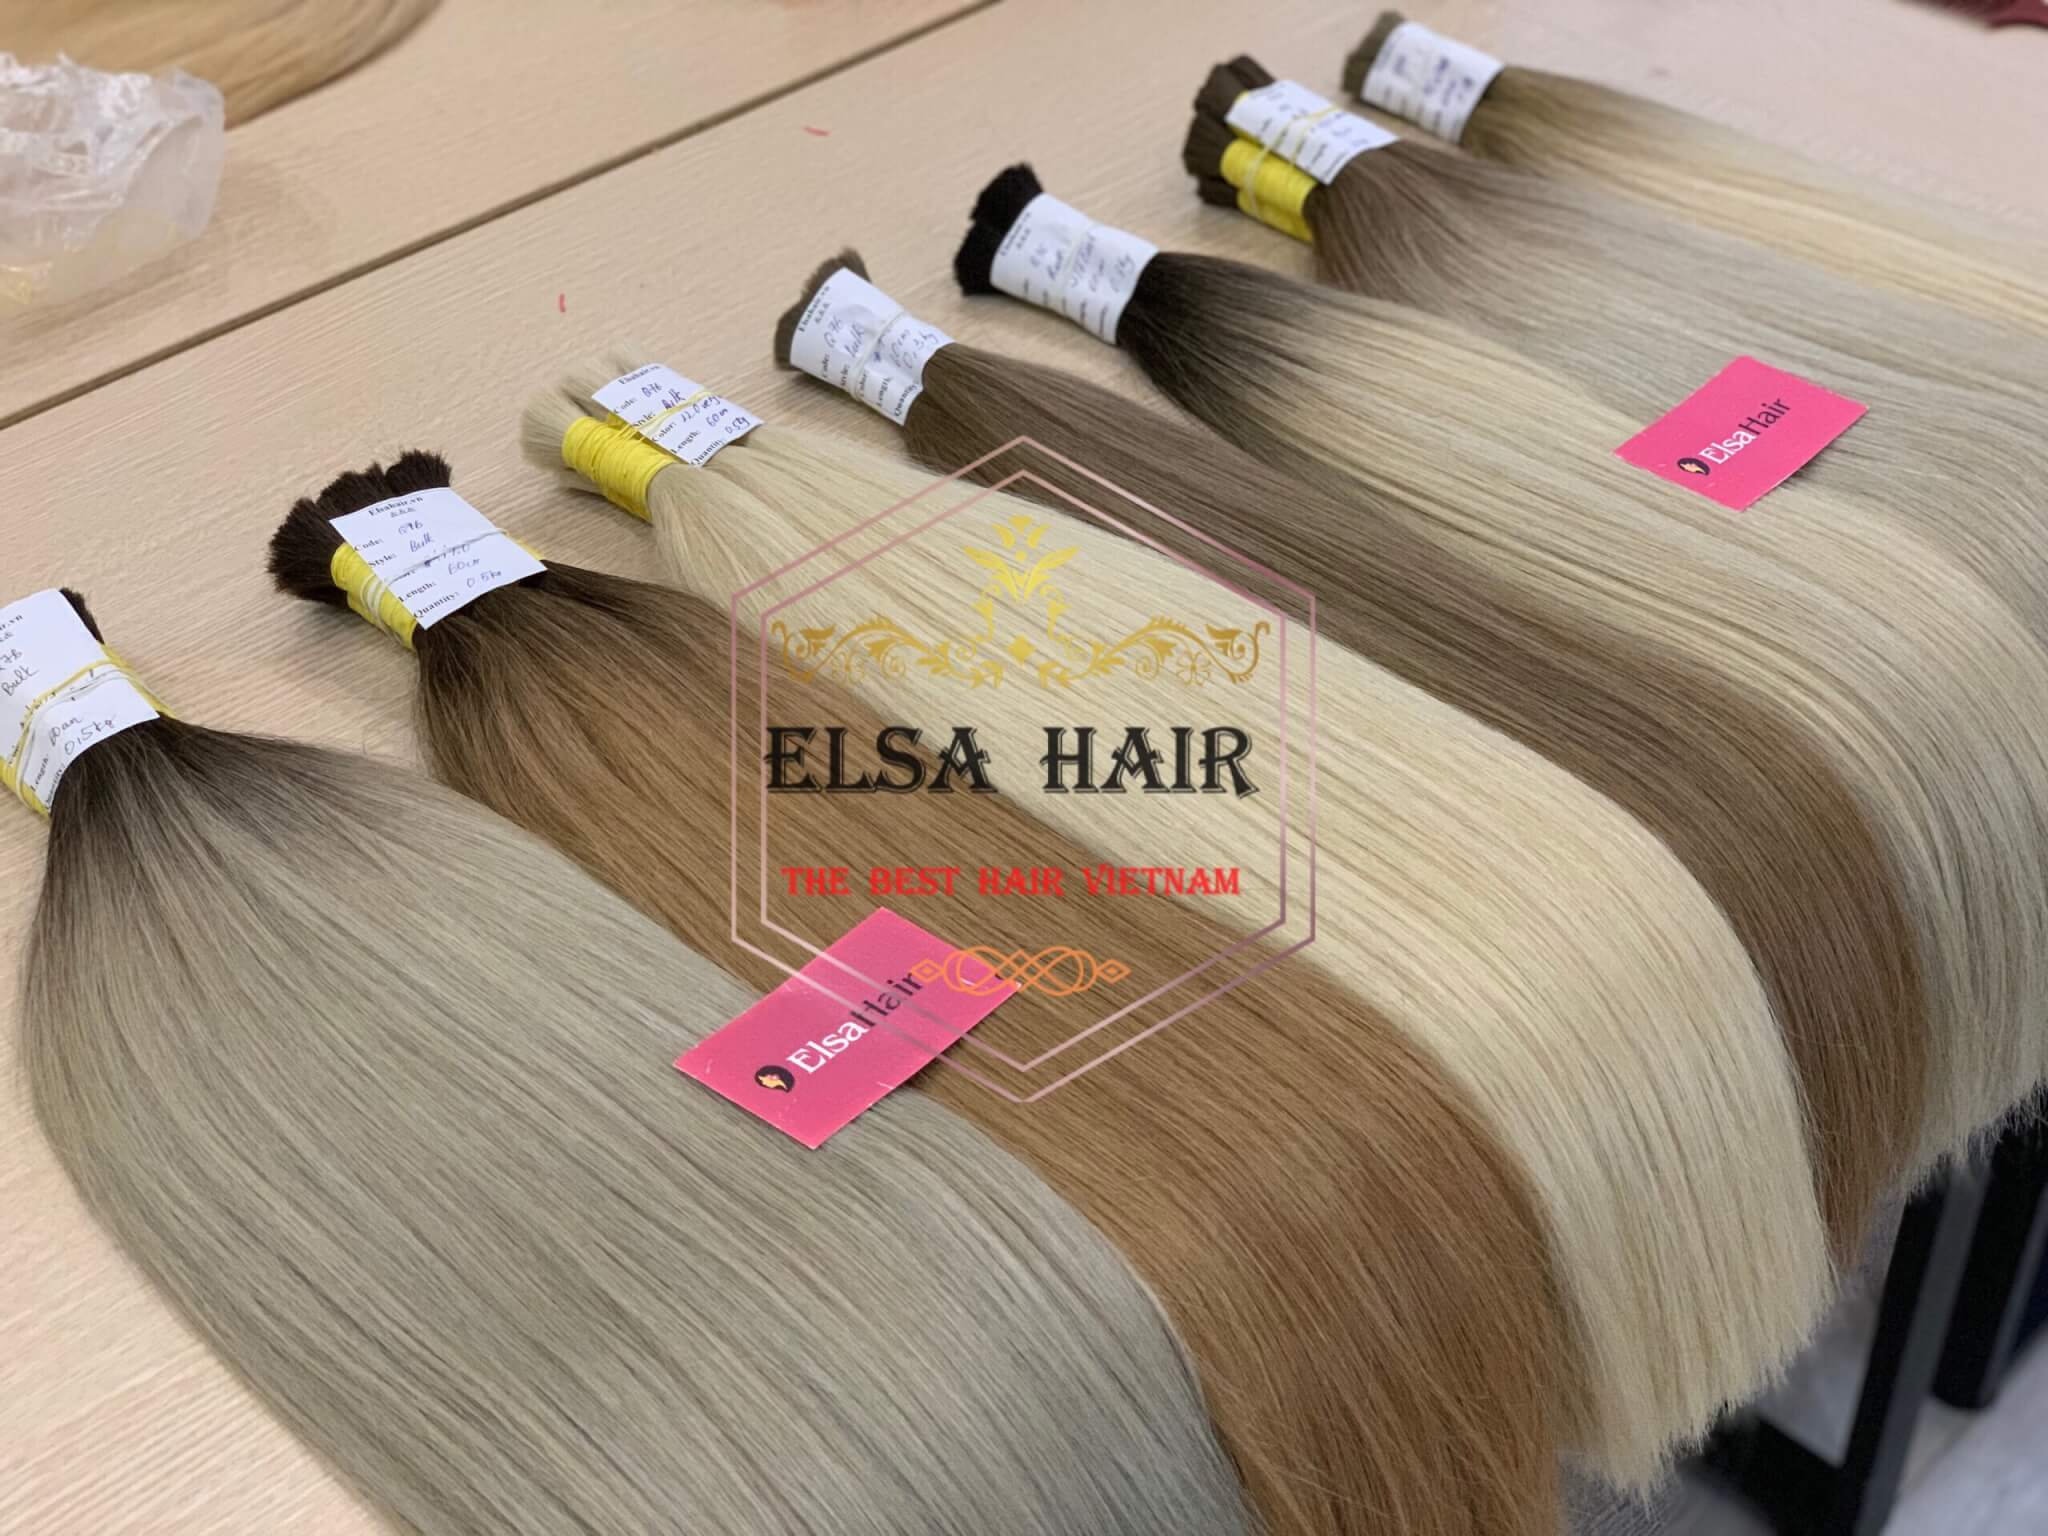
Bulk hair is the very first product collected from the female. It is a bundle of natural hair with no weft and is tied by an elastic band or big hair clip. Bulk hair is used to create other types of hair extensions such as weaves, wigs, frontal, etc. or for braiding and Vietnamese knotting techniques.
Now, are you ready to make your own weft? Let’s get started!
What you need make weft hair extensions
- Bulk hair extensions (the number of bundles will depend on how thick you want your weft to be)
- Sewing thread (in a matching or darker color)
- Matching color tulle (cut to strips 5-7cm x 40cm or 2-3in x 16in)
- Sewing machine and spare needles
- Scissors, sewing pins, comb
- Large sheets of paper such as old newsprints
Step 1: Preparations
Layout large sheets of paper to form a smooth surface on the table, right next to your sewing machine. And because you’re working with a numerous number of hair strands and everything must be neatly aligned, remember to protect your work area from pets, air drafts, or other disturbances.
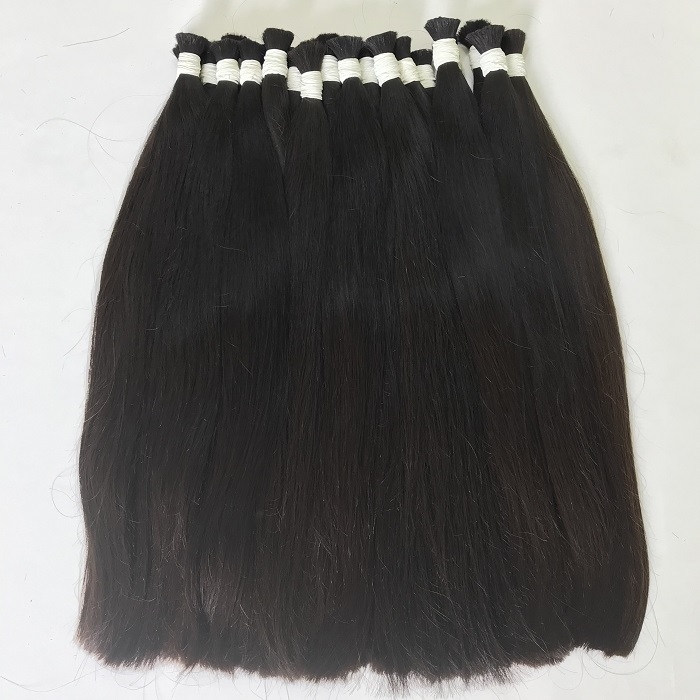
Hair is easy to mess up, so the advice here is to grab your bundle by the middle and hang it on (like “U” turned upside down). Then carefully take off a strand as you’re making your weft. Place each strand of hair on the work area, still keep the “U” form and have it pointing at you like a loop, therefore it’ll be easy to pick up.
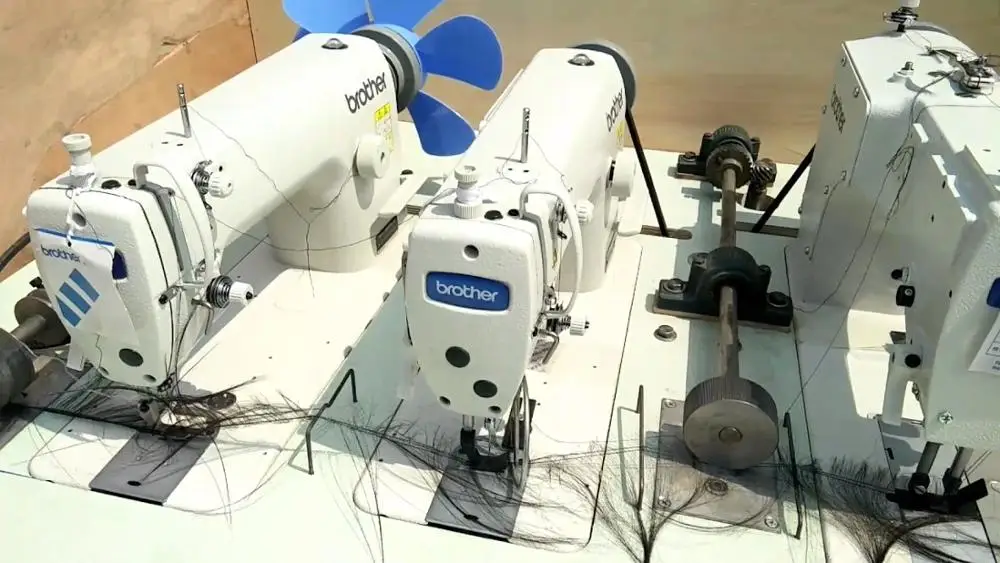
Making weft using your sewing machine, the hair will be sucked into the machine and messed up in a matter of seconds if you don’t have something to support. Tulle is the material of choice as it’s not only extremely lightweight and see-through but also the edges don’t fray.
Step 2: Sewing hair to tulle
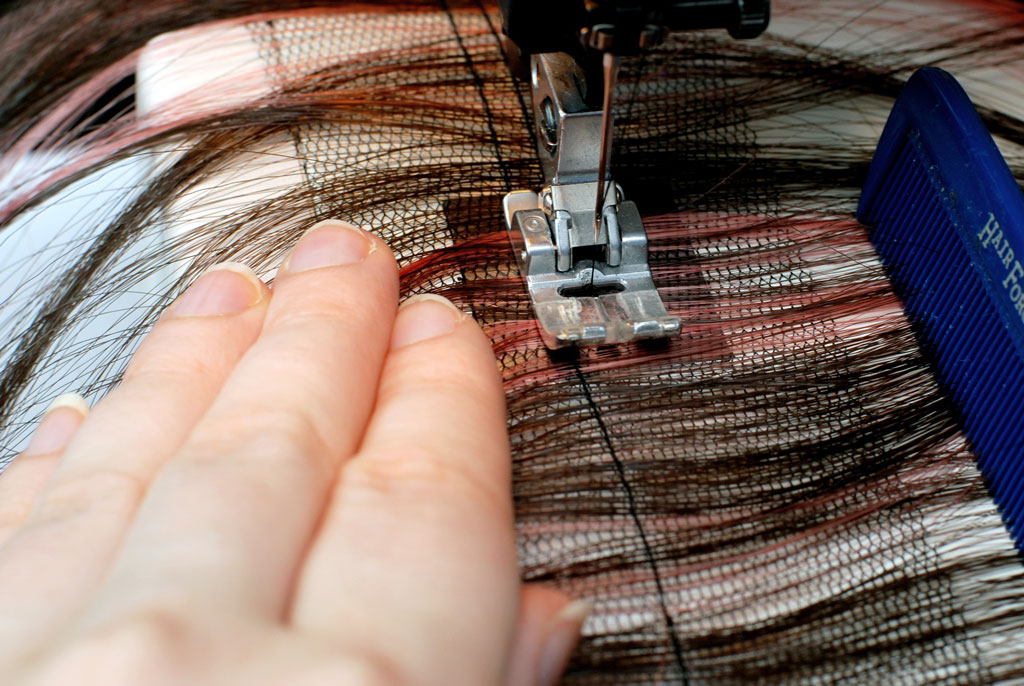
Set your sewing machine to the straight stitch mode with very small stitch length. Then start sewing weft by placing the tulle underneath the presser foot of your sewing machine and reading to go. Take a hair strand and spread it out on the tulle, and place the middle of the strand at the position of the needle. Start sewing slowly while guiding the hair with both hands (no need to lock the seam).
Note: You must spread out the hair thinly and evenly across the tulle. Try to avoid bald spots, especially do not let the hair to clump together because hair may not be fixed properly if it is sewn too much at once.
Right before you run out of hair to sew, lengthen the seam by taking another strand and add it into the machine so that hair strands are seamless and there’s no gap between. Repeat the process until reaching the end of the tulle strip and stop sewing an inch before the edge. Do not leave any hair over and no need to block the seam.
You have just successfully fixed the hair into the tulle, but that’s not enough because the hair is still very fragile and easy to pull out if you pull on the hair or brushing it. That’s why you must sew another straight seam next to the first seam, which is 5-10mm apart and parallel to the first seam.

Note: It’s a must that the hair is kept laid out straight and parallel, at a 90-degree angle from the stitching line.
When you’re done with the second seam, take the piece from the sewing machine.
Step 3: Fold the weft then Sew it together
You’re so close to complete your weft! Now, turn the tulle side up, use the gap between two seams as a folding line and fold the tulle in half lengthwise. Temporarily fix it with lots of pins.


This step requires some finesse and patience as you must try to keep the hair from exposing bald spot and crisscrossing so that you can receive a clean-looking weft as a final result.

After fixing the folded weft, put it back under the presser foot of the sewing machine. Right on top of the existing seam (or a little bit left of them is fine), start stitching the third seam, remove the pins as you go.

Your weft is almost done now! You can also stitch another line or two close to the edge, just to make sure that everything is firmly fixed. To check if the hair is properly fixed, just pull on it. If you can still pull out the hair, then your weft is not secured enough, you should stitch another line between the visible seams. At the ends, you will need 4-5 seams in total to keep your weft durable.
Step 4: Finish

You do not need the excess tulle to keep the hair anymore, so just cut it off. Trim the tulle on both sides of the weft and close to the seam, be careful not to cut the hair strand. Your weft is basically finished, just one final step before using it is to detangle and smooth the hair for a more natural and beautiful look. Use a wide-toothed comb to detangle the hair by gently brushing it from tip to root.
Before using, you should definitely wash your hair to rinse out all the dust, you should apply conditioner so that your hair will be soft and shining as if it’s your own hair.
So, that’s the basic tutorial on how to make weft hair extensions from bulk hair. Hopefully, this article will help you to make your own extensions as desired!
PLEASE CONTACT US VIA WHATSAPP: +84 988614198

